I cannot wait until I get to take Art up at the main campus, the entire room dedicated to just clay. I love the chalk board, when I looked in there it was covered with Looney Tunes cartoon characters... I cannot wait!
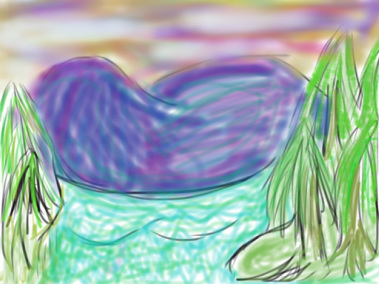
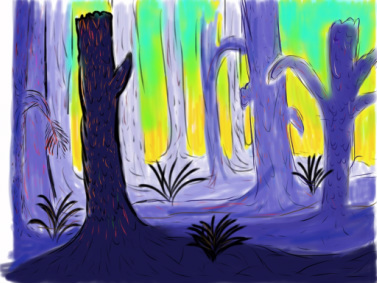
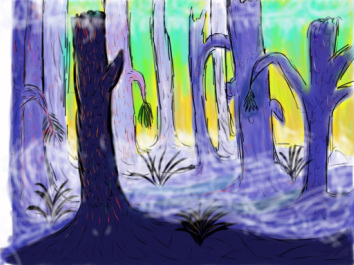
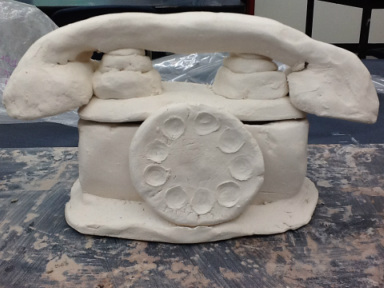
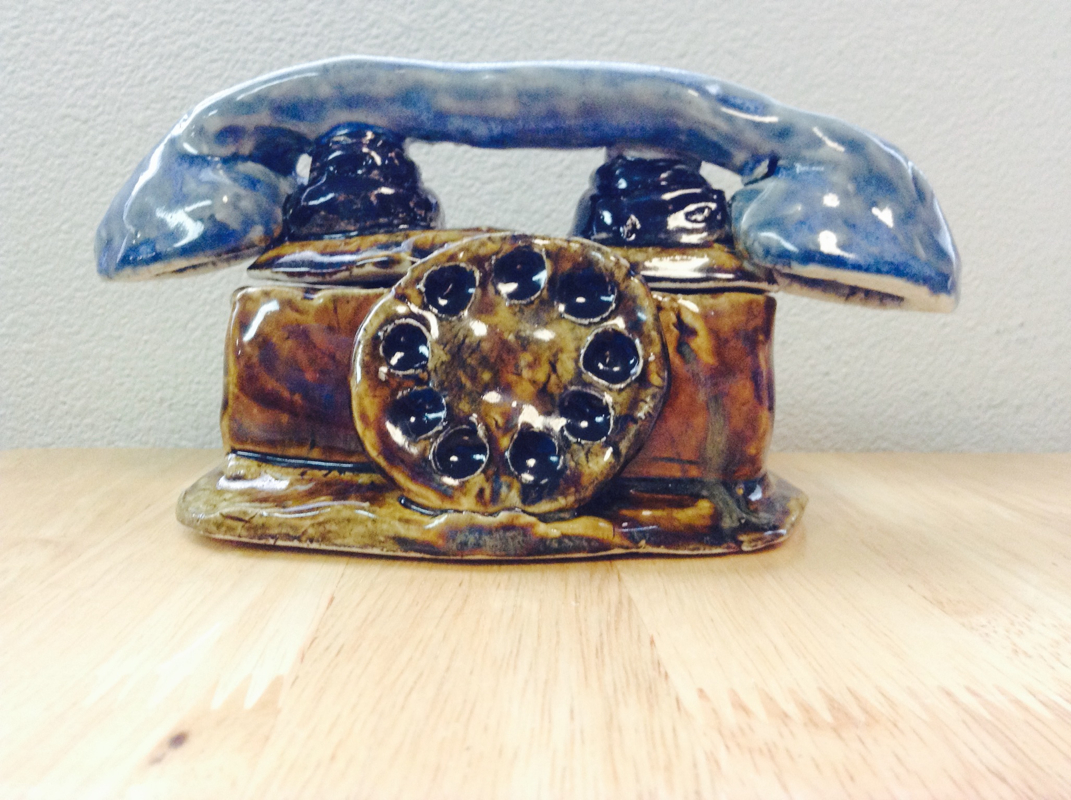
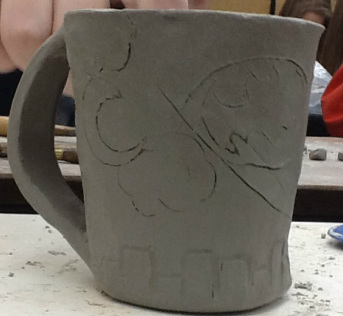
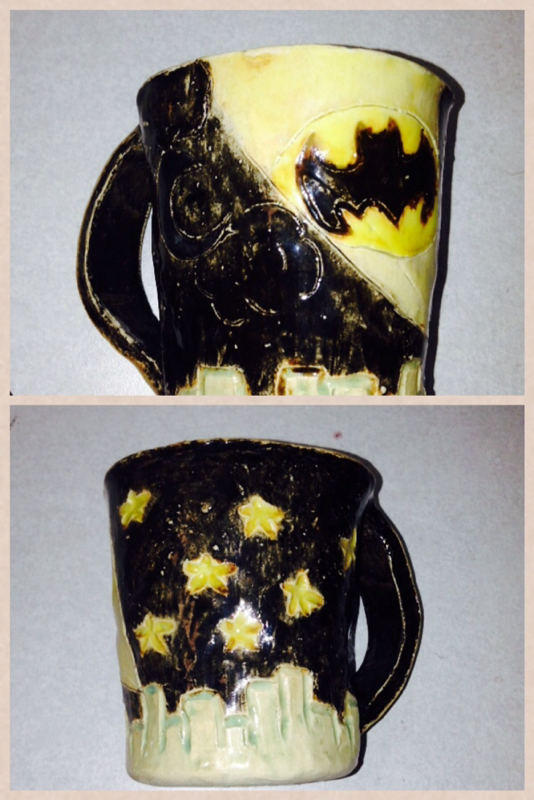
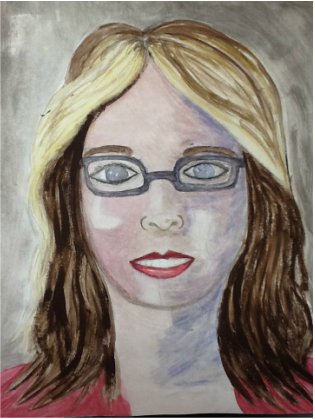
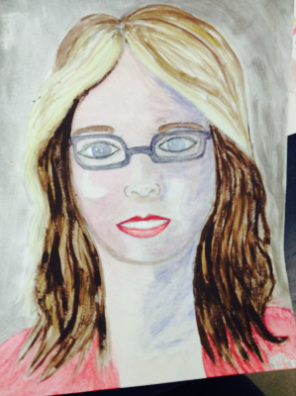
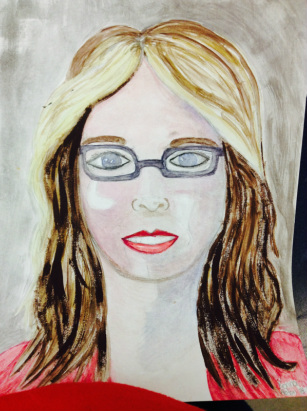
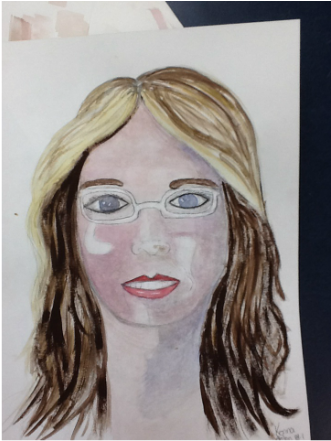
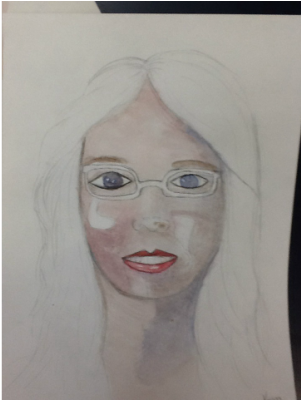
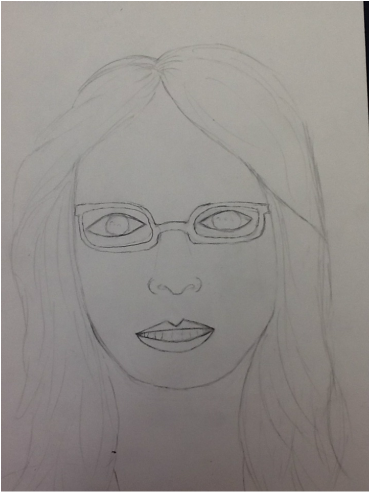
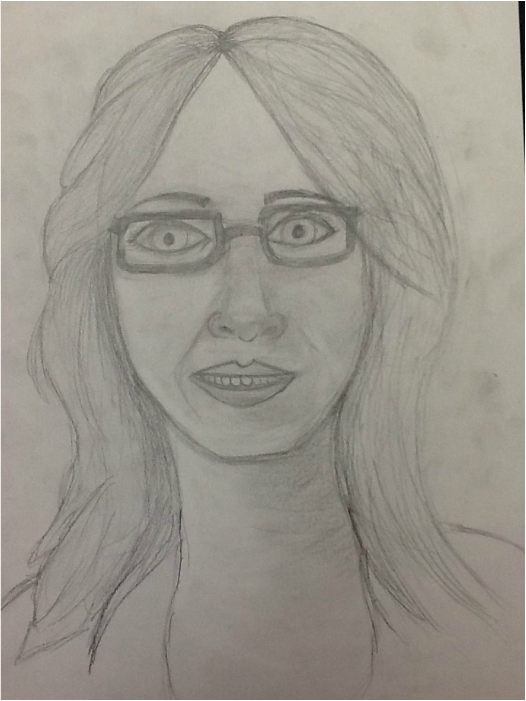
Ever since I was little, I always was doodling or doing something art related... Needless to say I will be taking Art all for years. This year I drop out to go and try Intro to Digital Media, since I have also had a love for movies. What surprised me the most was probably how well the projects turned out, I mean I wasn't sure how my cup and telephone box was going to turn out. Of course, I was hoping that it would turn out well. Although it did not turn out exactly how I wanted since I hadn't out an even layer or enough of the glaze I learned new things. My biggest success would be my clay, although I do think my painted portrait looked good, the chalk I wasn't used to using and the pieces in my opinion weren't sharp enough to create the small lines. But maybe that was just me. My favorite project was probably glazing and/or painting, clay is always my favorite because unlike the paintings, the clay is less likely to disappear or get ruined. I learned that the glazes may not always turn out how you want them to, I learned that you do not want any glaze on the bottom since it'll stick to the bottom. I hope to use these new skills, the ones not listed, to decide what I will do in my future.
I cannot wait until I get to take Art up at the main campus, the entire room dedicated to just clay. I love the chalk board, when I looked in there it was covered with Looney Tunes cartoon characters... I cannot wait!
0 Comments
For the first iPad drawing we were to do our own, I picked a sunset kind of scene. Below is the first spooky trees, or rather the beginning. I really liked drawing on the iPads, because unlike real drawings , using pencils, I can zoom in. Which allowed me to put in tiny detail, such as the designing on the trees This is the final picture of the spooky trees, I added in fog using the airbrush tool. Tools I used to make this is the sketch box program, a stylus and some pictures for reference. This is the Old Fashioned Clay Box. It's made of out pinch-pots, the box and part with the phone on it used to be attached and two different pinch bowls. They were stuck together and after a few days I cut them apart and started decorating them. When it's all fired and done, I will paint it and upload another photo of it. I accidentally bumped it with my hand, that's where the indent on the right side of the phone came from. After being fired all parts were still attached and didn't explode, except for the dial. The dial came off but it wasn't attached as well as I wish it was. But that's okay, I can probably paint it separated fire it and then hot glue it on. . This is the last picture for this. It has been glazed and fired. I probably should have put a few more coats of the blue on the phone piece. Although it doesn't sit perfectly, I still am very proud of it. I'm glad that when it fired for the second time the glaze could act as a glue to keep the dial on. You cannot tell in this picture but it's a Batman cup. So it has the buildings along the bottom, and then the spotlight and Batman symbol in the sky. UPDATE: The clay cup is finished, fired for I believe it was two days, after being glazed. It has stars, building (which I originally thought would turn out this blue color, turns out Aquamarine its actually more teal... Or green) It also has the batman symbol which I'm quite proud of, considering I was hopping the yellow around it would be darker than the spotlight. Which it is. This is my clay box, a firm slab. Some new techniques would be letting it dry over night, and then adding design in after, cutting the sides at a 45 degree angle so that they met together. I found the overall clay project easy, all of mine are fairly complex until I got to this "box". I couldn't think of any ideas, and I had cut my sides so short that I couldn't do the underwater design that I wanted originally. Instead I figure, that when I glaze it I can paint it different shades of blue, with white tips. Here's the finished box, most of the color either came off or didn't show up. I didn't figure this would look all that great considering I was hurry to paint it, I'm just glad that the blue stayed on top so it has at least a little color. I took the picture of the side that had most color, it was supposed to be different shades of blue and greens but I didn't put enough on of each color. So, this is the start to finish of my Selfie picture. The start is at the bottom, and finished just below this paragraph. The shadows I used are a mix of blue and brown, also a little white so they weren't super dark. The skin town is red, green, and white. The hair is just different shades of brown and yellow, the shirt is red and purple. The background is just "a warm" gray. The glasses so that they weren't to dark and overpowering, is just a blue and brown mix. To start we first did a light and simple sketch of ourselves, to give us the ideas of the proportions and shapes. We sketched out where highlights would be so we didn't cover them After that we started painting, although she started with her background I started with my face and worked my way out. The next I continued with my skin and facical features and then moved on then the hair. I continued going back to skin, facial features, and hair to make sure they looked realistic for say. Which I think I did fairly well. My brush strokes are all different, and created different marks and values. I used the dark parts if my hair to define my face. The shadows help show that is is 3-demensional. I would give myself 25/25 since I tried and did most of the things I was supposed too. I think I might be better at painting so far then anything else. Beginning sketch for painting. So, the Selfie Drawing was a little easier to do after first measuring our own heads and getting an idea, and then also after drawing a Skelton. But still the eyes, nose, mouth (basic face features) were still difficult to draw and I think it'd be helpful for myself if I go back to the tutorial and on my own time practice drawing faces.
The Selfie drawing was basically just drawing ourselves and trying to put our features in the right place. I've learned that if I do not lift my hand, I will smear for say the lead all over my picture which is both helpful and not. I've tried using light to dark values but the smearing didn't help with the mediums. I believe that for the most part the proportions are in the right place and that they are basically the same size. I'd say for a grade 25/25 My take on starting with drawing the skulls is so we get an idea of under the skin that might affect how the structure is and where things line up. This a picture of me, taken by my Dad who is a professional photographer. It's not exactly a selfie, but I want it to look good and be easier to see clearly and draw. |
The Earth without Art is just "Eh" AuthorArchives
January 2014
Categories |